Video Transcript
In this QCAD tutorial, we will learn how to use QCAD more efficiently by using keyboard shortcuts.
First, we look into shortcuts that are used to start tools.

We will also learn how we can efficiently enter tool parameters, for example the distance of a parallel line or the length or angle of a line.
Most tools in QCAD can be started from a menu at the top or the CAD toolbar at the left.
Another way to start a tool is by entering its shortcut with the keyboard.
A shortcut is a combination of usually two or three keystrokes that can be used to start a tool.
The keys are not pressed simultaneously but one by one.
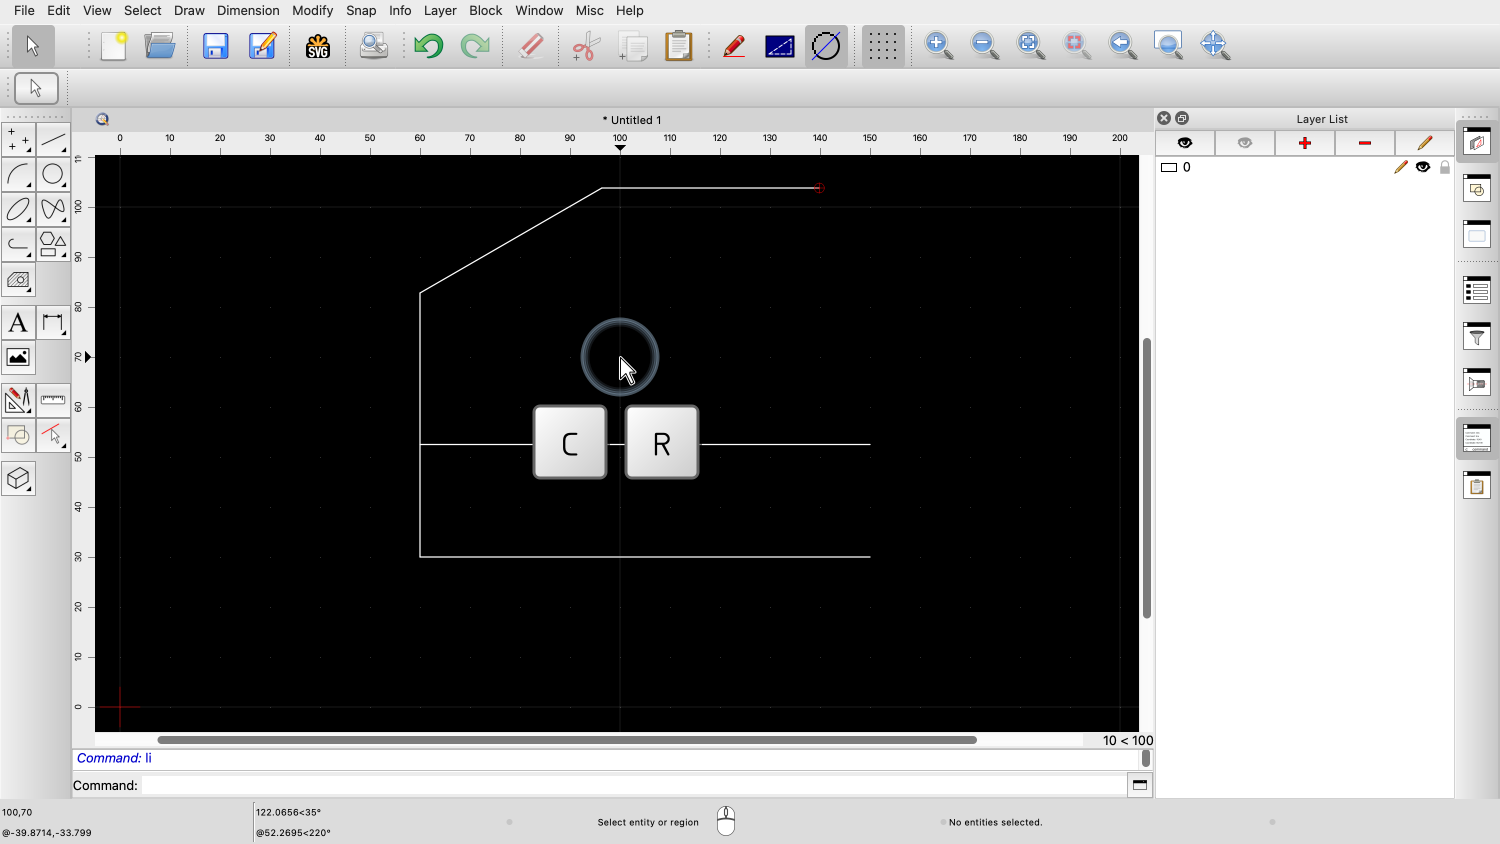
For example, the shortcut for the line tool is "LI".
To start the line tool, we can first press the "L"-key and then the "I"-key.
We do not need to enter the shortcut into the command line or anywhere else in particular.

We can simply press the keys on our keyboard and QCAD starts the tool.

After pressing the keys, we can use the line tool as we have learned in a previous tutorial.
Most tools and functions in QCAD have such a two-letter shortcut.
We can see the shortcut for each tool in the application menu behind the menu text.
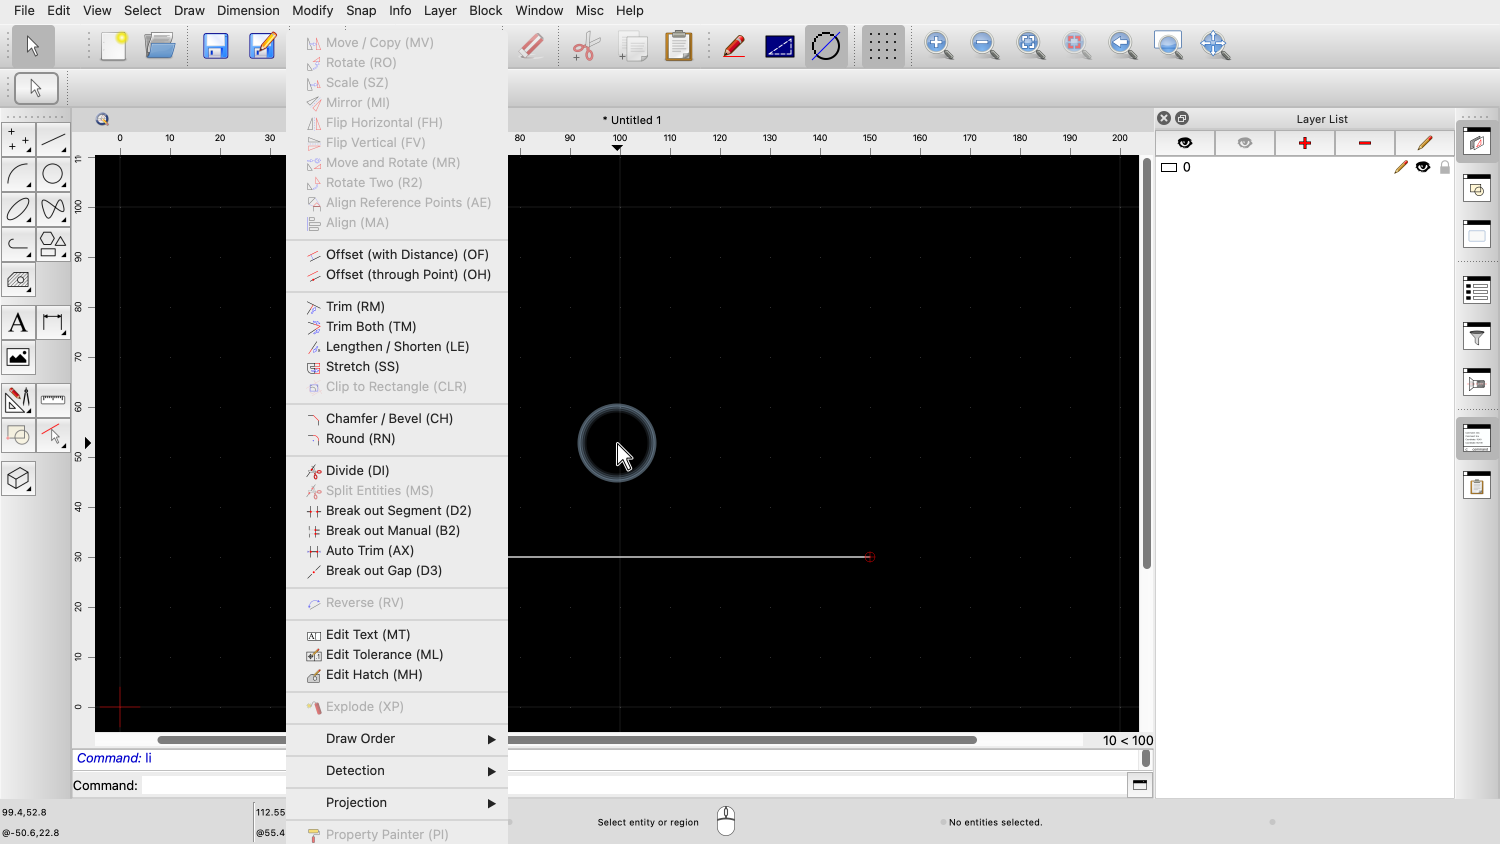
In the modify menu for example, we can see the shortcuts of the various modification tools.
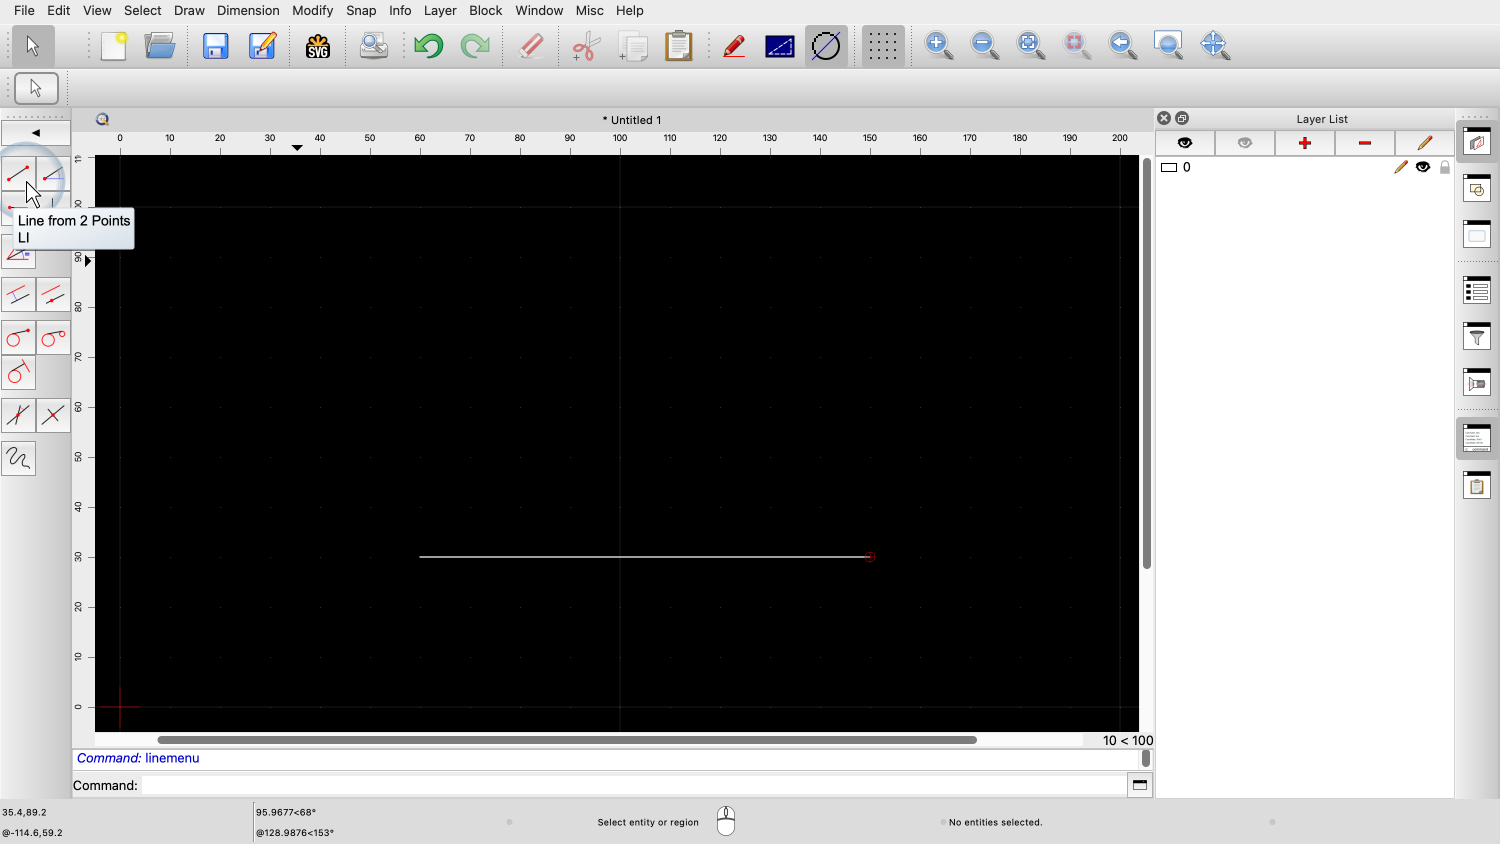
We can also see the shortcuts in the tool tips that are shown when hovering over a tool button.
Many tools in QCAD require one or multiple parameters, for example a distance or a radius.
When such a tool is running, we can simply start typing a number to enter the first parameter.
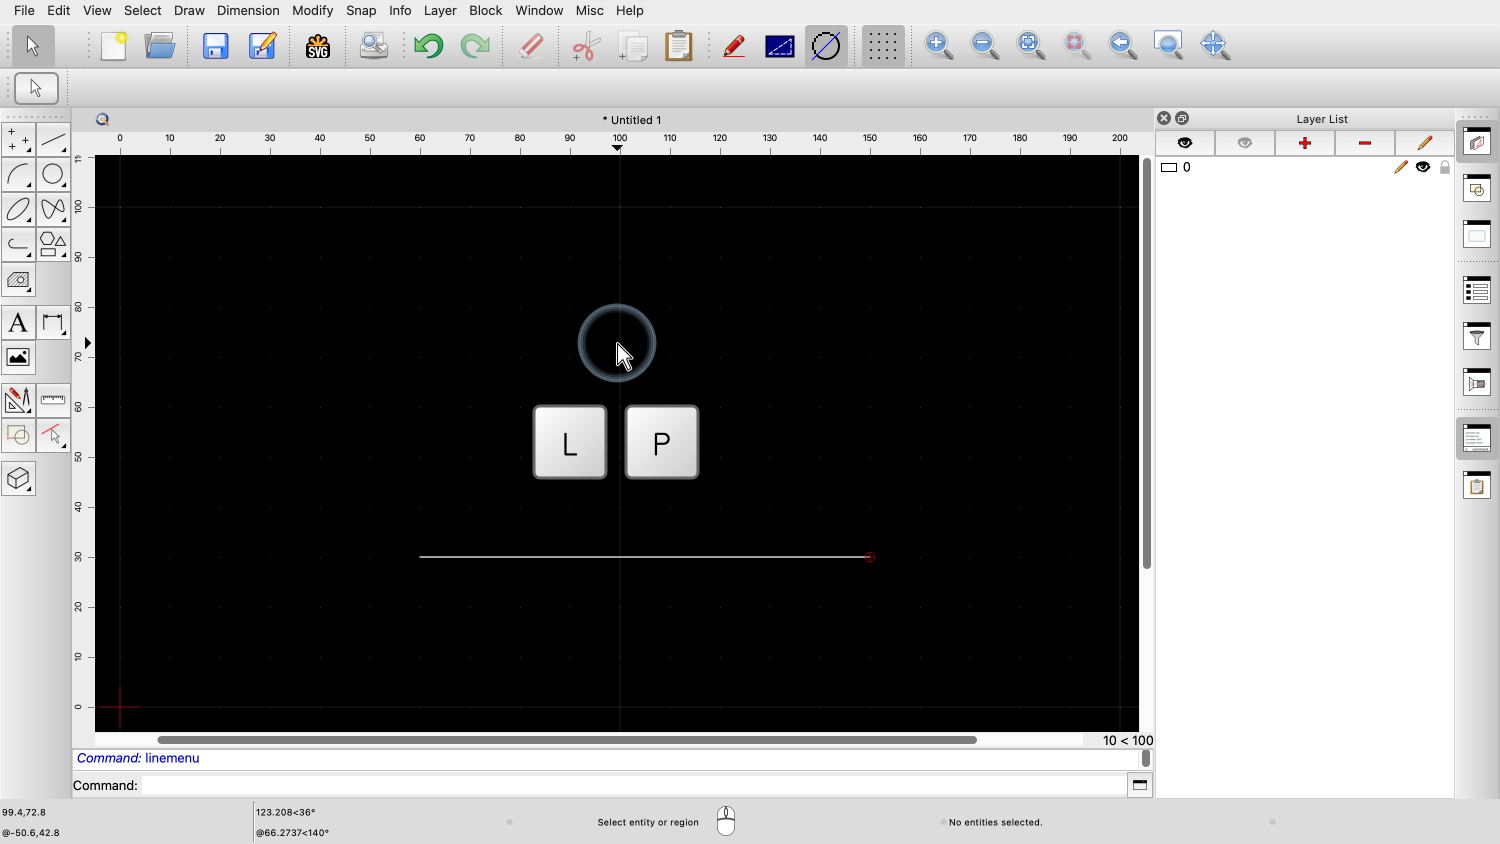
For example, we can start the tool to draw parallel lines by entering its shortcut "LP".

The parallel tool is now active, but we still have to enter the distance of the parallel line to the original line.
We want to create a parallel line with a distance of 22.5 drawing units.

We could click into the distance input field in the options toolbar to enter a new value.

Instead, we can simply start typing the desired value.
QCAD automatically enters the value into the first input field in the options toolbar at the top which is the distance in this case.

We can now draw the parallel line as desired.
Some tools have multiple parameters.

We have a look at the line tool again as this is usually one of the most used tools in QCAD.

We connect a new line to the first line.
The options toolbar offers several advanced options for the line tool.

In the length input field, we can enter the desired length of the line.
We can simply start typing a number to enter the desired length.
For this example, we want to draw a line with a length of 52.8 drawing units.

Just like before with the parallel tool, we type this number and QCAD automatically fills it into the length input field.


If we set the length to a fixed value, we can still define the angle of the line with the mouse.
But what if we want to enter the angle instead of the length?
We have multiple possibilities to reach the angle input field without using the mouse.
First, we can activate the angle input field immediately using its shortcut.
The shortcuts for the tool options at the top always start with a comma.
The tool option shortcut for the angle field is a comma, followed by an "A" for angle.

We can also see the tool option shortcut in the tool tip of the tool option.

We hit the comma key, and then the "A"-key on our keyboard to activate the angle input field.

We can now type the desired angle.


With the angle fixed, we can now define the length of the line using the mouse.
Another way to quickly enter all the parameters of a tool is by using the Tab key.

We hit the Tab key once to activate the first input field in the options toolbar, here the length field.

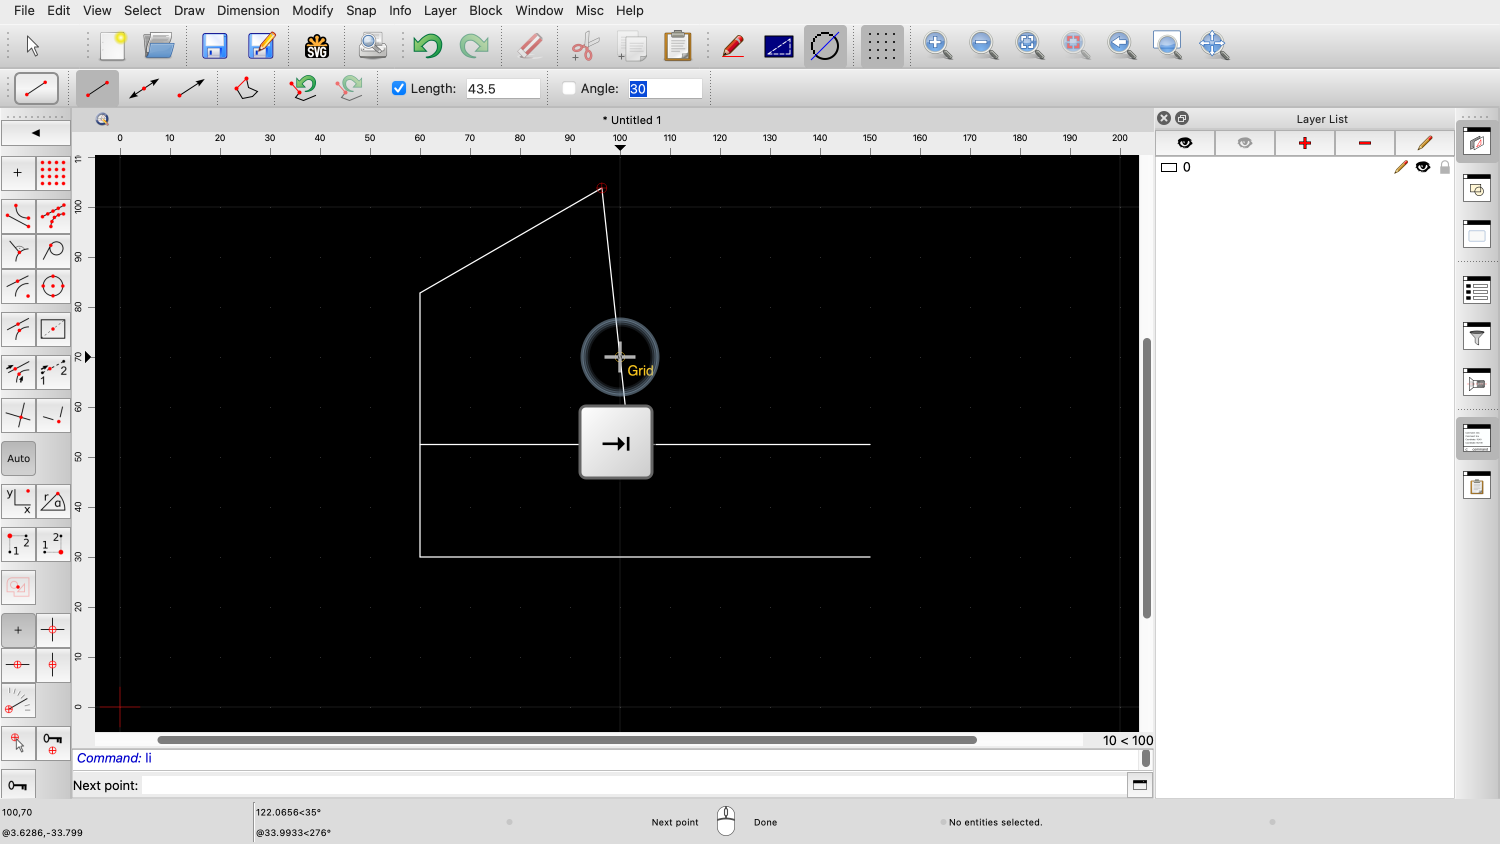
We can now enter the length of the line and when we are done, we press the Tab key again to activate the angle field.

Here, we enter the desired angle, for this example, we enter zero for a horizontal line.
With the length and the angle defined, the end point of the line is now at a fixed position.
To draw the line, we can click into the graphics view.
We can also press Control and Enter (or Command and Enter under macOS) which has the same effect as clicking the left mouse button.
For the last example of this tutorial, we draw a circle with radius 14 at a given distance from the end point of a line.
First, we start the circle tool to draw a circle with a given radius.

Next, we enter the circle radius of 14.

For the center point of the circle, we want to use the snap tool to snap to points with a given distance to an endpoint.

To enter the snap distance, we enter the shortcut for the snap distance input field which is comma, comma, D.
Tool options for snap tools start with two commas to make sure there are no conflicts with other shortcuts for other tool options.

We enter the desired distance from the end point, here 32.

Finally, we use the mouse to click near the position we want to use.
Note that we only had to use the mouse to identify the snap point in the drawing.
We did not need the mouse to start the required tools or enter all their parameters.
Using keyboard shortcuts can significantly increase the efficiency of using QCAD.

For a complete reference of the shortcuts for all tools, please refer to the QCAD web site.
You should now know how to boost your efficiency using the keyboard.
Be sure to practice this with your own installation.
Thank you for watching this QCAD tutorial.